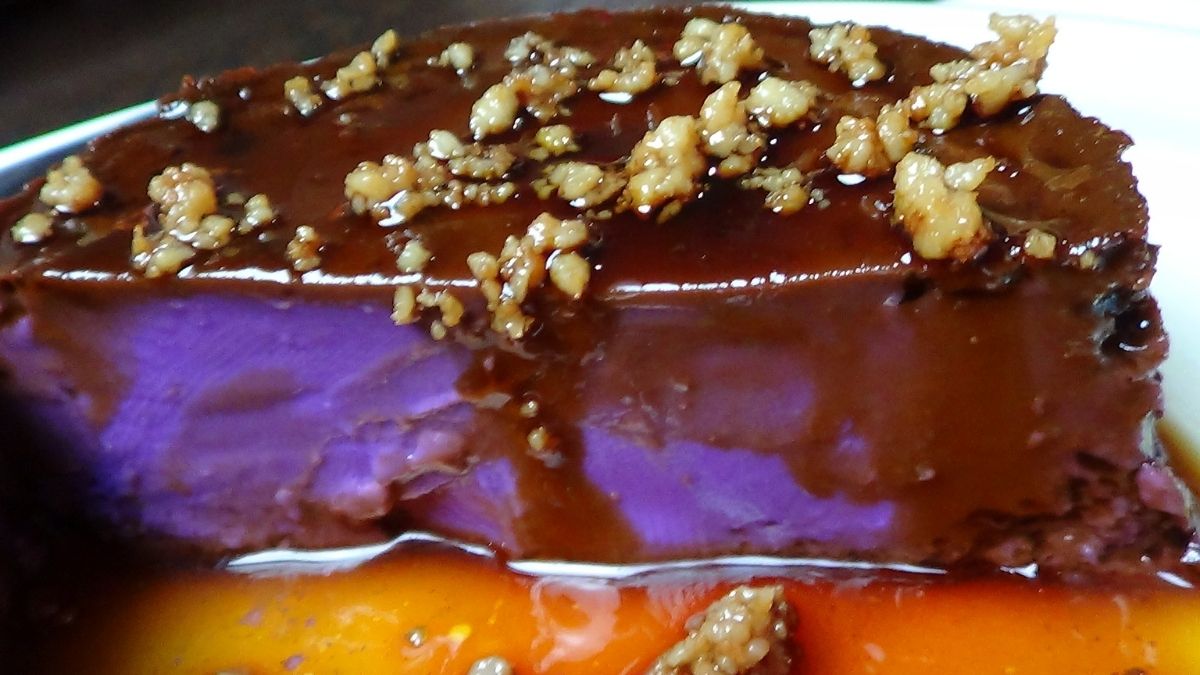
I will be the first to admit that when it comes to the world of cooking, the word “Easy” is very subjective. Although, just as a little word of advice, trying and learning brings you closer to your meaning of “Easy”. Unless there is a particular piece of equipment that you do not have or a certain key ingredient, nothing is impossible. I used to think that leche flan was one of those dishes. The steaming process could be mitigated by an oven technique. Whole eggs is an option versus going through the separation process. Creating the caramel topping is not as hard as you think. Once I tried it, I slowly became comfortable with the process. So comfortable that I began to play with the recipe. This is how I came up with an Easy Ube Flan Recipe.
Ube Flan?!
Yes you read it correctly, this is an Easy Ube Flan Recipe. I love leche flan alone, but I wanted to alter the Filipino favorite with a different, yet popular flavor. In addition, I wanted to keep that leche flan texture, but give it an eye popping color. Needless to say, I was very pleased with my results and I can’t wait for you to try this lovely Ube creation.
Ube’s popularity is steadily growing so I have been trying out many different creations highlighting the sweet, purple treat. I have been playing with a new recipe that I know that everyone is going to love (coming soon!!!) and I tried using the Ube Sweetened Condensed milk for it. Being sweetened condensed milk, it is of course very rich and now even more with ube flavoring. In addition, it is a deeper purple than what I was expecting. I hope that I can find smaller cans, when I have to buy it in the future.
Now one of the biggest differences between an authentic flan and leche flan is the addition of sweetened condensed milk. Milk, sweetened condensed milk and eggs are combined to give the Filipino leche flan that heavier richness, that is so hard to share.
Well, you all know the saying, “the rich get richer”. A perfect ratio between the two condensed milks will give us a nice purple tone and the delicious ube flavor. To even accentuate that flavor, I switched out the evaporated milk and replaced it with coconut milk. Lastly, just to make this dessert even easier to make, I use the whole egg, versus separating the whites and yolks. Now, all you have to do is get through the caramelization step.
Fire Up that Sugar!
There are a couple ways that you can create that caramel topping to your flan. There is a dry way and a wet way to do it. I think that the dry way is easier, but it can be more dangerous. If you are not quite comfortable with your craft in the kitchen, I would stick with the wet method.
Your objective with both methods is to cook granulated sugar to a liquid state. Caramelization occurs when that liquid state starts to yellow. In order for sugar to generate that type of reaction, it has to be heated. Sugar will start liquifying at a heat of 360℉. Over a stove generated heat is best. Sugar can melt in the oven but it will take quite some time for it to happen.
Caramelizing sugar can be quite an adventure if you have never tried it before. It is pretty much a race against time. After achieving a liquified state, the sugar can recrystallize fairly quickly, so there is no time to reach for better molds or llanera. Also for both the wet and dry methods, it is important to keep an eye on it and not let it burn. For this darker, ube flan, a light to medium caramel color is perfect. At the same time, a dark caramel color is not bad.
Here are some great resources if you want more info before trying it:
The Wet
This method of caramelization is probably the safest but not necessarily the easiest. Yes, an Easy Ube Flan Recipe will have learning opportunities, for some. In a sauce pan, you are going to stir together sugar and water, at a medium heat. When you get used to this method, you can increase the heat in the future. At a medium heat, you have more time to prevent darker caramelization or even burning. Use a wooden spoon or silicone spatula. As soon as both ingredients are mixed as one, remove spoon or spatula and let the mixture heat up to its melting point.
You can occasionally swish it around by tilting the pan back and forth, but do not use a spoon or spatula. If you remove any of the mixture from the heat source, it will quickly want to recrystallize. As it heats and as you swirl it around it will become clear and then start to color. Stop at a yellowish/ golden hue (light to medium caramelization). If it gets too dark, your syrup will have a bitter taste. This process will take between 8 to 10 minutes.
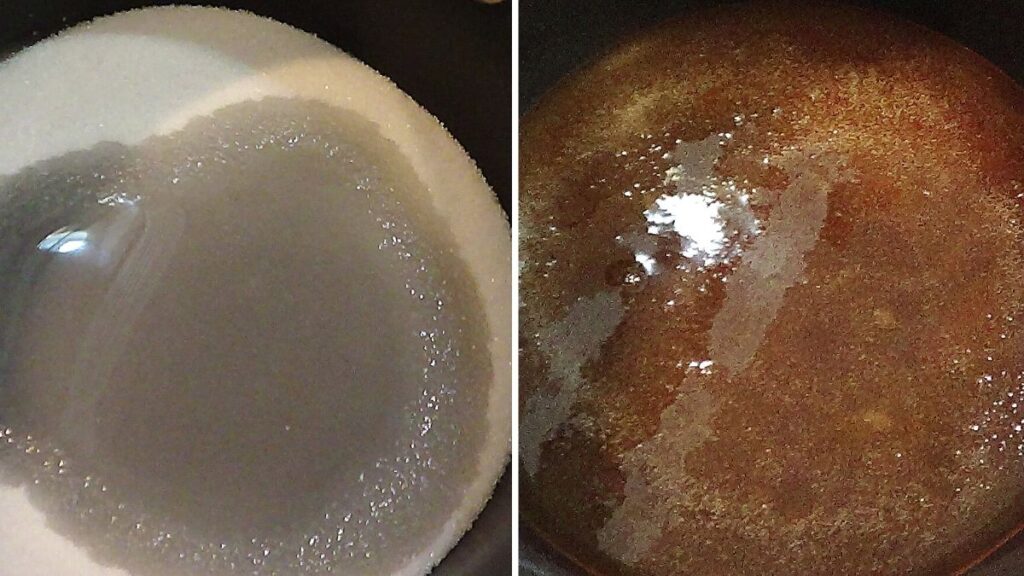
As soon as you reach your desired color, pour the mixture into your steam or oven safe mold. Tilt the mold in the necessary directions to allow the mixture to fully cover the bottom. To keep the mixture fluid enough to spread, I like to keep the mold heated before pouring in the mixture. As it cools, it will crack. Don’t be worried by this, it is okay.
I have also seen people do this using the microwave. I have yet to try it but I would think that it would be the safest. Let me know if you try this.
How Much?
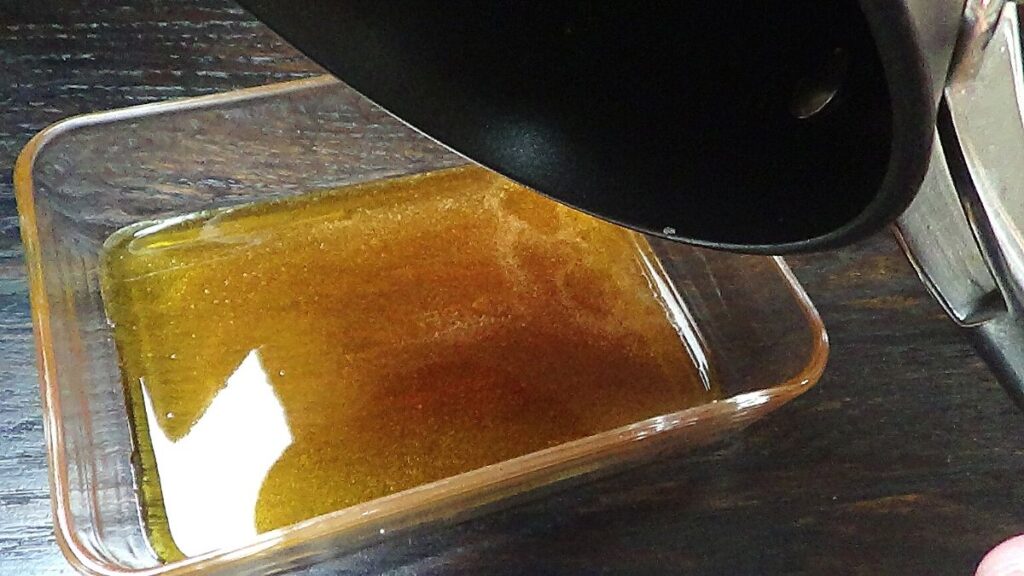
When making the caramel mixture, it is hard to say how much sugar and water that you will need. It really depends on the size of your mold. I made a small rectangle flan in a 5 x 7 Pyrex, that fit about 2 2/3 cups of flan mixture. For this mold, I used 1/2 cup of sugar and 1 tablespoon of water. It was just enough to adequately cover the bottom of the mold. You can use this breakdown to help you:
1 C of sugar = 2 tablespoons of water
1/2 C of sugar = 1 tablespoon of water
1/4 C of sugar = 1/2 tablespoon of water
The Dry
If you are thinking that this method does not consist of using water, you are correct. So again, this method might be quicker but certainly not the safest. It consists of placing your mold over the flame of your gas stove or portable butane burner. The use of all metal cooking tongs is a must and metal molds. I wouldn’t recommend this technique with bigger or heavy molds, like the ceramic ramekins. Lastly, have a cooling rack ready, right next to where you are working.
Because this method of caramelization is faster, burning will occur faster. This is definitely not a sit and watch method. Once the heat penetrates through the mold, it’s time for constant hand and wrist movement. The idea is to swirl the sugar around the mold for it to melt and evenly caramelize across the bottom of the mold, without burning. As soon as you reach a light to medium caramelization, place the mold on the cooling rack. When it cools, you’ll hear and see cracking. Don’t let that alarm you.
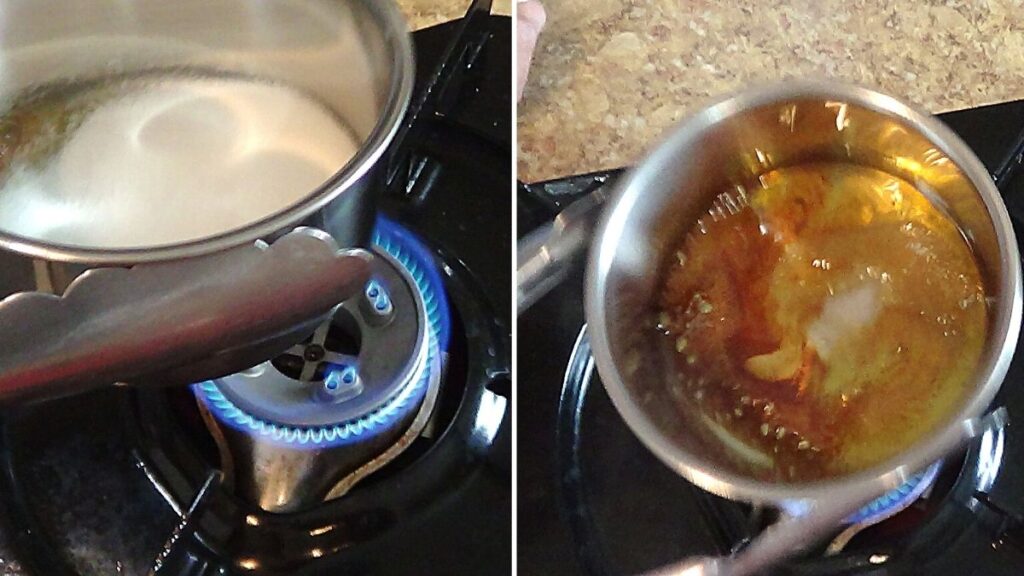
It takes practice. Don’t be discouraged if you don’t get it the first time. Biggest thing is safety with this method. Kids shouldn’t be running around when you do this. Stay calm and smart. This will prevent you from placing the mold on surfaces that can get damaged or from grabbing it with your bare hands.
How much?
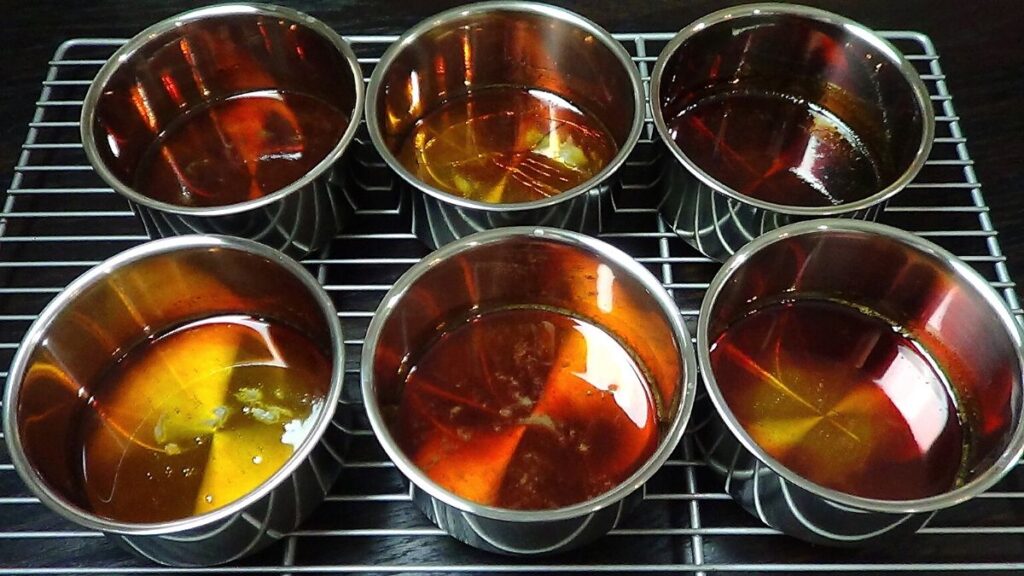
For the stainless steel molds that I use, 1 1/2 tablespoons of sugar is perfect. The molds have a diameter of 4 inches.
Now for the Easy Ube Flan Recipe
Yes, this is where the “Easy” in Easy Ube Flan Recipe comes in. Why? Because in this recipe, there’s no separating yolks from whites and we’re not worried about bubbling. We’re just going to go for it with this recipe. Take note that in the photos below, the recipe is doubled.
Ingredients
For this we are using the basic ingredients for Leche Flan: Eggs, milk, and sweetened condensed milk. Of course, I’m going to have to switch things up a bit for Ube Flan. As mentioned, with the eggs, we are going full egg. The milk is getting swapped out for coconut milk, to accentuate that ube flavor. Lastly we are adding some (1/4 cup) ube flavored sweetened condensed milk. Yes, only four ingredients.
Instructions
Crack eggs into a mixing bowl and mix until you generate a uniform mixture, scrambling in all of the thicker parts of the whites. I use a hand held electric whisk to get this done. With this recipe, I am not concerned with the bubbling. By mixing it well, we remove the need to pour the mixture through a sifter when filling the molds, and your flan will generate that smooth texture. (Note: Portions were doubled for pictures below)
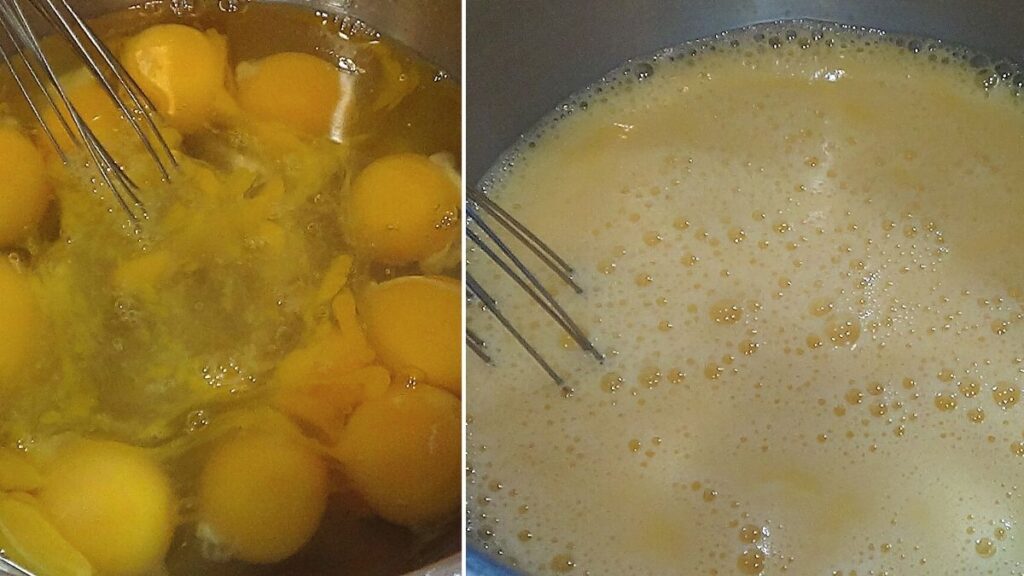
Now add in the can of sweetened condensed milk and mix well. Add in the quarter cup of Ube condensed milk and mix well.
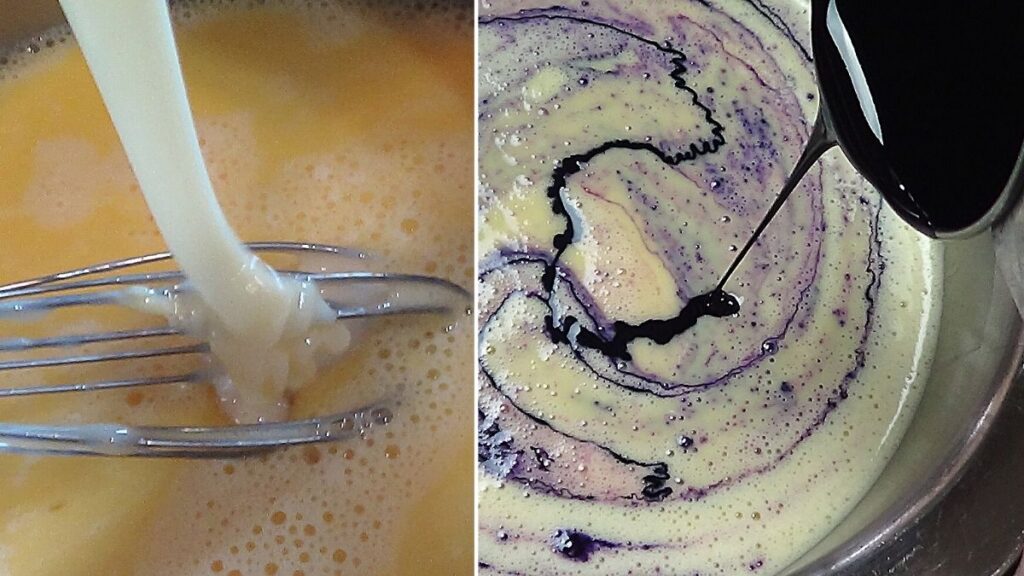
Pour in the coconut milk and continue to mix well. It is still okay to use the hand held electric whisk. Enjoy the psychedelic imagery.
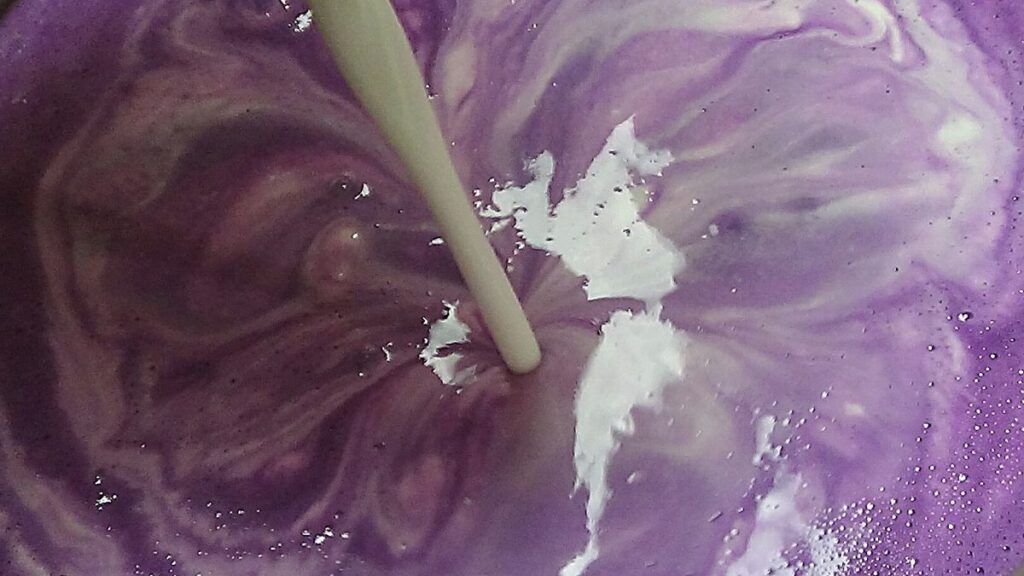
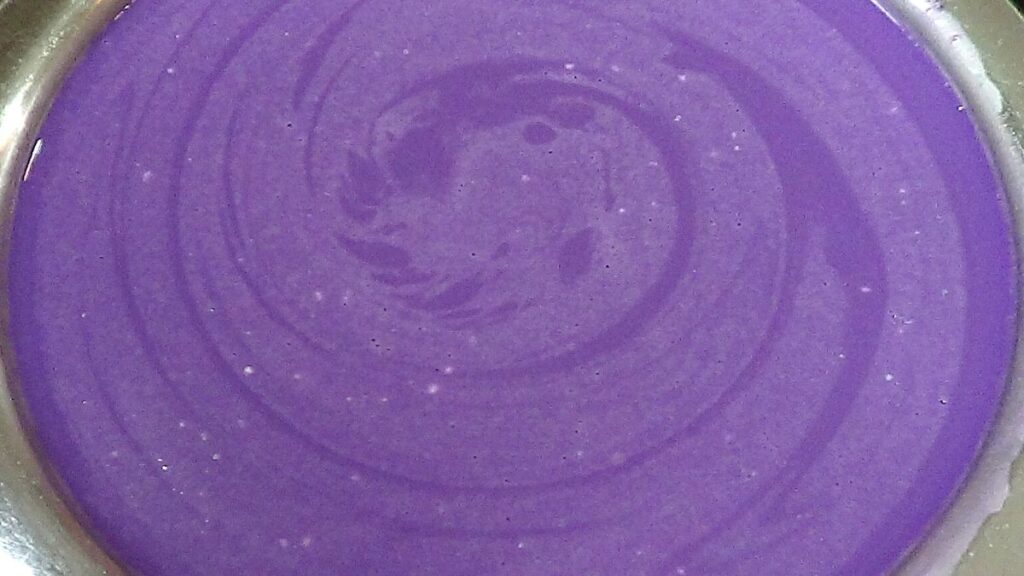
At this point, cover the mixture with plastic wrap and let it sit in the refrigerator. This is when I caramelize the sugar. This allows time for the bubbles to pop off. You can also let the plastic wrap sit on the mixture to get rid of the rest of the bubbling.
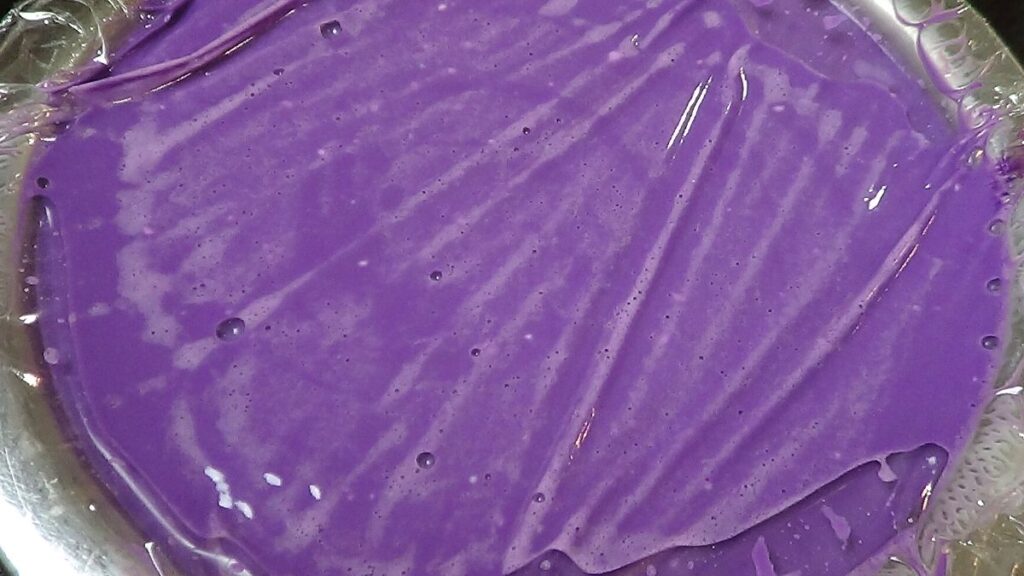
Begin steaming your water at high temperature. Before pouring the mixture into the molds, give it a good, slow stir with a spatula or spoon. Fill molds and cover them with foil.
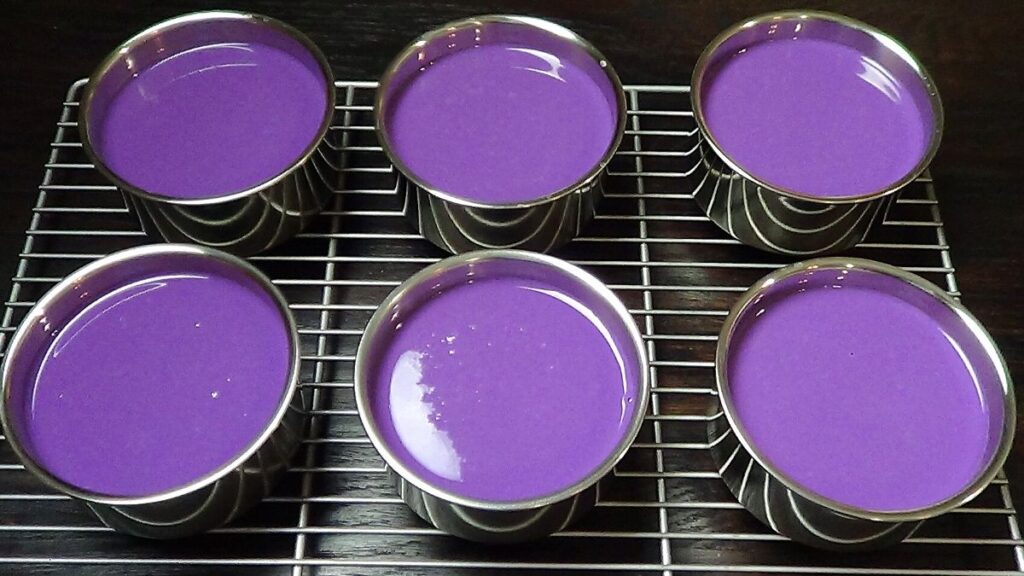
Steaming
Once the water begins to boil and steam, Add your steamer trays and let them steam off until done. For the stainless steel molds, check for doneness at 20-25 minutes. For the thicker ceramic molds, check at 30 minutes. Like cakes, simply stick a toothpick in the flan and pull it out. If it comes out clean, they’re done.
After steaming, let them sit and cool to room temp, then refrigerate them before serving. When nice and cool, you can cut around the edge of the flan with a thin butter knife. Flip the mold over your serving plate and let gravity take over.
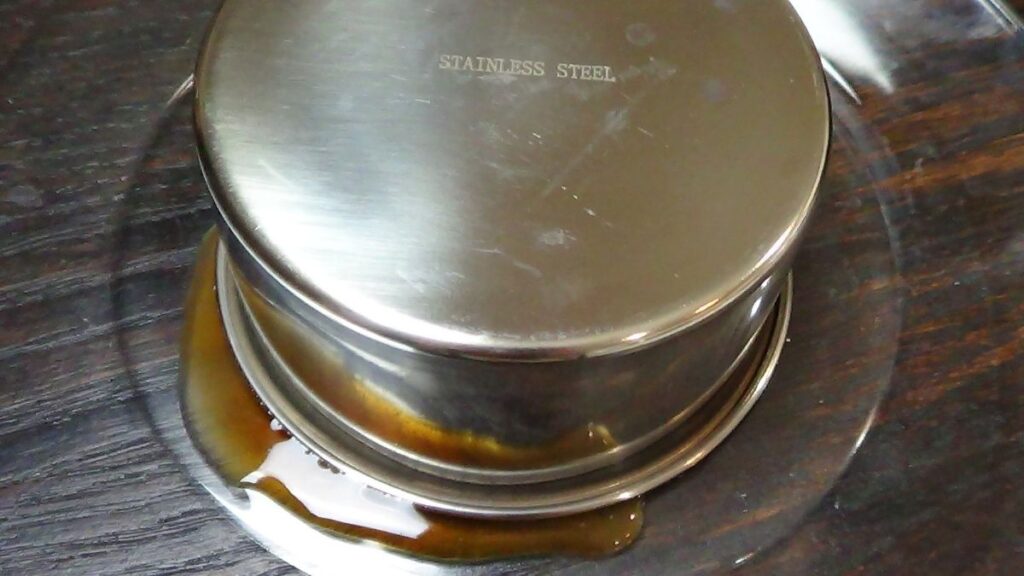
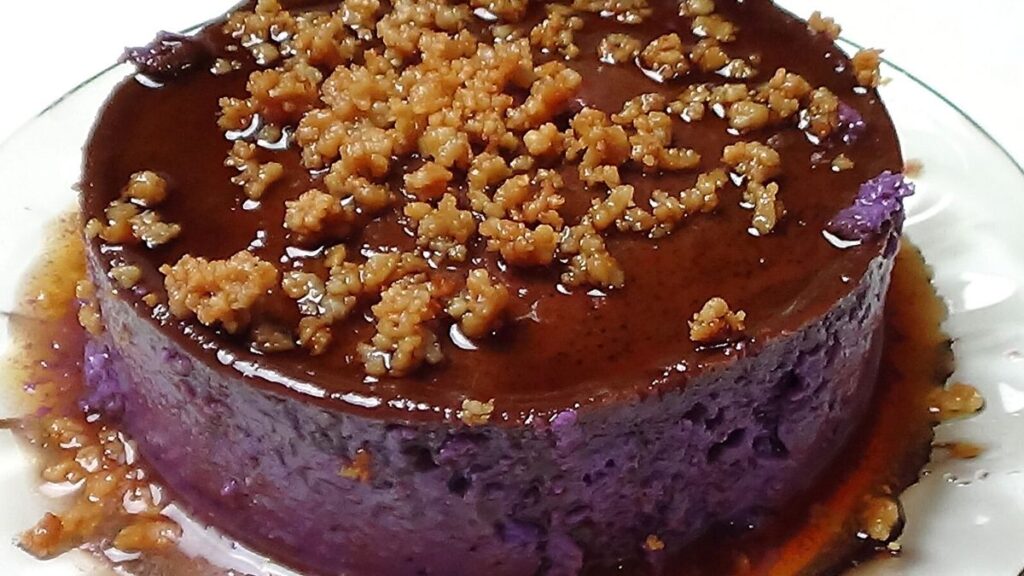
I love serving with a latik (roasted coconut cream) topping. It gives a nice counter texture to the smooth ube flan. Click HERE for latik instructions.
Give it a shot and you will see that it is an Easy Ube Flan Recipe!
Kain na tayo!
Don’t Forget Your Ube Monster T-Shirt!!!
Click on Image for sizes and colors
Easy Ube Flan Recipe
Equipment
- Steamer Pot Cooker
- Small Nonstick Sauce pan
- Wooden Spatula or Spoon
- Mixing bowl
- Flan Molds
- Optional; Gas Burner, Hand Held Mixer with Whisk Attachment, metal tongs
Ingredients
Ube Flan
- 6 Large Eggs Whole
- 14 fl oz Sweetened Condensed Milk 1 can
- ¼ c Ube Sweetened Condensed Milk
- 13.5 fl oz Coconut Milk 1 can
Sugar Caramelization Dry
- 1 ½ Tbsp White Granulated Sugar Dry Method For Individual Mold
Sugar Caramelization Wet
- 1 C White Granulated Sugar Wet Method
- 2 Tbsp Water 2:1 Ratio with sugar
Optional: Latik Topping
- 5.6 fl oz Coconut Cream 1 can
Instructions
Ube Flan
- In a large enough mixing bowl, break and scramble eggs until uniform in color and liquid consistency. This will give you that smooth flan texture. I like using a hand held electric mixer with a whisk attachment. Don't worry about bubbling.
- Add the sweetened condensed milk and ube sweetened condensed milk. Continue to mix well with your hand held electric mixer.
- Add coconut milk and continue to mix well with your hand held electric mixer.
- Cover with plastic wrap and set in the refrigerator.
Dry Caramelization
- Place 1½ Tbsp of sugar in each metal mold.
- Set gas burner to a medium heat.
- Hold mold with metal tongs. Maintain a secure grip but not too tight. Have a comfortable hold. Place mold over the burner.
- Once heat penetrates through the mold, the sugar will start to heat and melt. I like to start with a slow swirl and then speed up as the sugar melts. Melt to a light to medium caramel color and be sure that the bottom of the mold is covered. Pending on temperature and how close you are holding the mold to the flame, caramelization can occur within a few minutes.
- Set on a cooling rack. Repeat for the number of molds that you are making.
Wet Caramelization
- Heat stove burner to a medium heat.
- In a sauce pan, combine sugar and water and mix with wooden spoon or spatula. Remove mixing tool once mixed.
- Allow mixture to heat and then eventually melt. The mixture will become clear and then begin to color.
- Swirl mixture, by using the pot handle, to get an even melt.
- Melt to a light to medium caramel color.
- Evenly distribute, covering the bottom of the mold(s).
Steaming
- Fill Steam pot with water and set heat to medium high to high.
- Give the flan mixture a good spoon stir (not causing bubbling) before filling mold(s).
- Evenly fill caramelized molds and cover with aluminum foil.
- Once water is boiling, place mold(s) on steam racks and steam for 25-30 minutes.
- For metal molds, check for doneness at 25 minutes, with a toothpick. Stick it in the middle of the flan. If it comes of clean it is done.
- For the thicker glass or ceramic molds, check for doneness at 30 minutes, with a toothpick. Stick it in the middle of the flan. If it comes of clean it is done.
- Once finished, set on a cooling rack until they cool to room temperature.
- Lastly, chill in refrigerator until nice and cold.
Serving
- With a butter Knife, carve around the flan, between the outside edge of the flan and the inside of the mold.
- Place a plate or saucer on top of the mold and flip it over so that gravity can release the flan from the mold.
- Sprinkle latik on top of ube leche flan before serving. Optional
